

Node.JS installation procedure, i.e. the component used to send the platform push notifications.
To complete the installation of Node.js component:
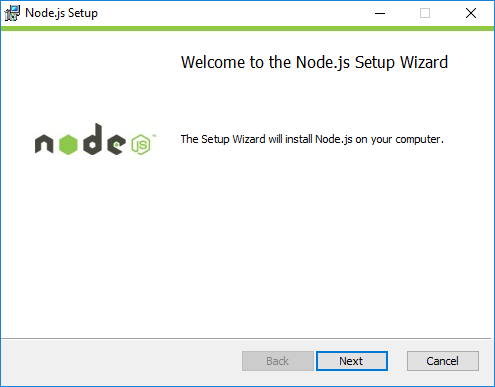
- Open the application provided by the technical support team.
- In the SETUP WIZARD screen, click on NEXT.
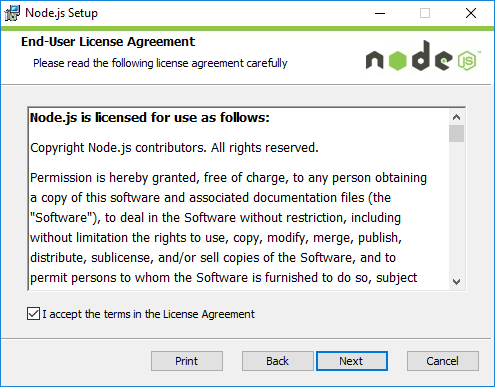
- In the acceptance screen of the service terms and conditions, click on I ACCEPT THE TERMS IN THE LICENSE AGREEMENT checkbox.
- Click on NEXT.
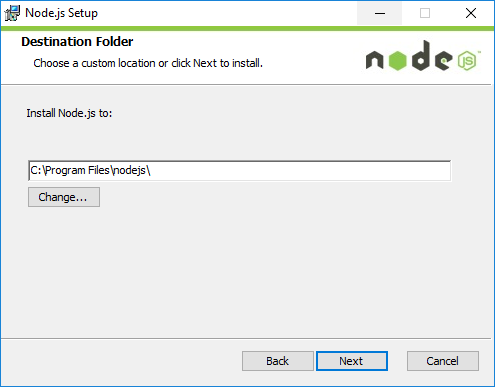
- In the DESTINATION FOLDER window, click on CHANGE if you want to change the installation path of the application.
- Click on NEXT.
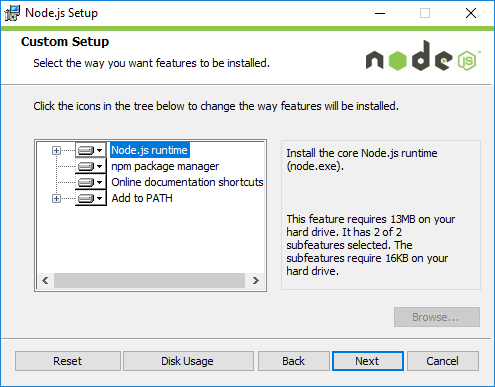
- On the CUSTOM SETUP screen, click on NODE.JS RUNTIME.
- Click on NEXT.
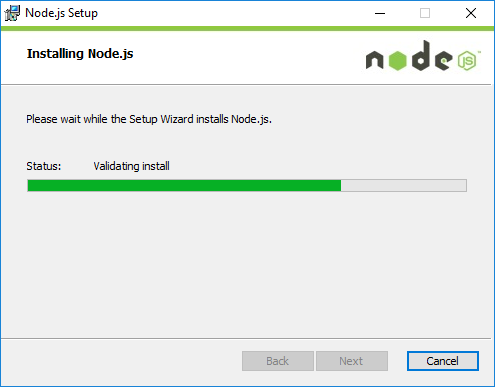
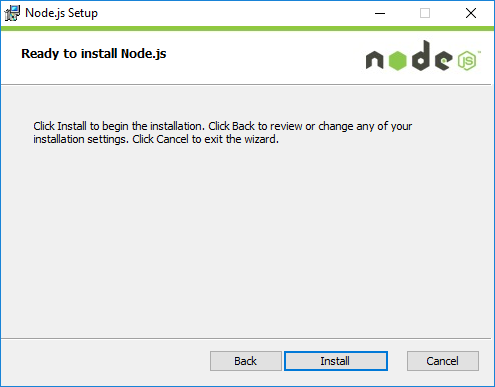
- On the installation start screen, click on INSTALL.
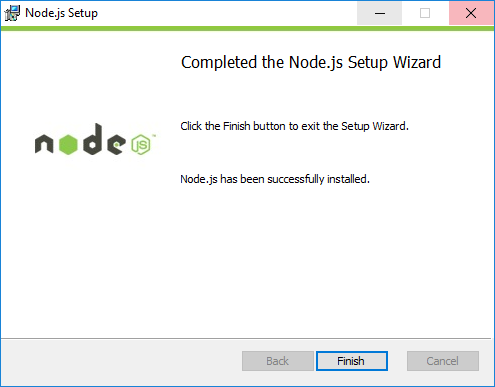
- Click on FINISH.
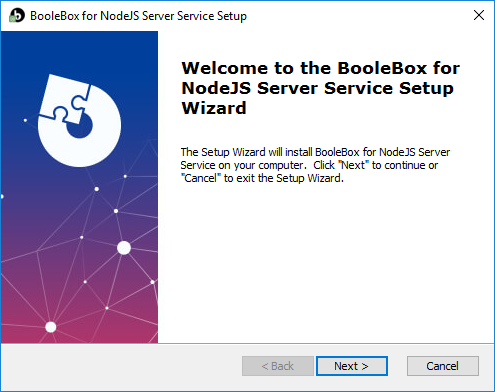
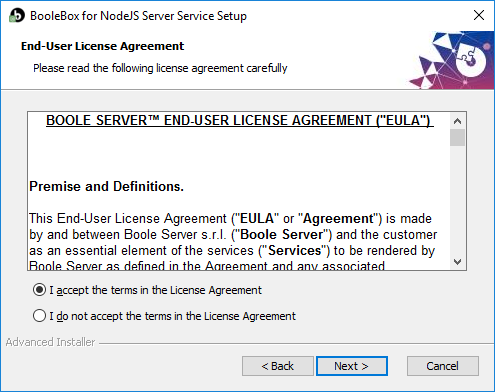
- In the SETUP WIZARD screen for the NodeJS Server Service, click on NEXT.
- In the acceptance screen of the service terms and condition, click on I ACCEPT THE TERMS IN THE LICENSE AGREEMENT item.
- Click on NEXT.
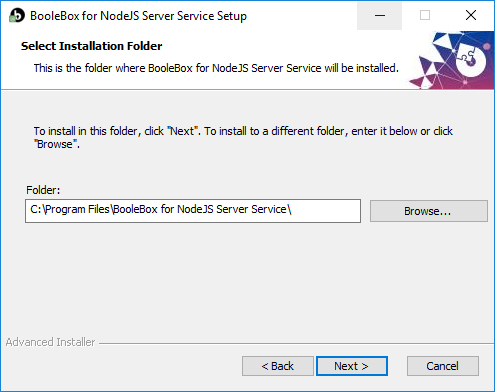
- In the SELECT INSTALLATION FOLDER window, click on BROWSE if you want to change the installation path of the application.
- Click on NEXT.
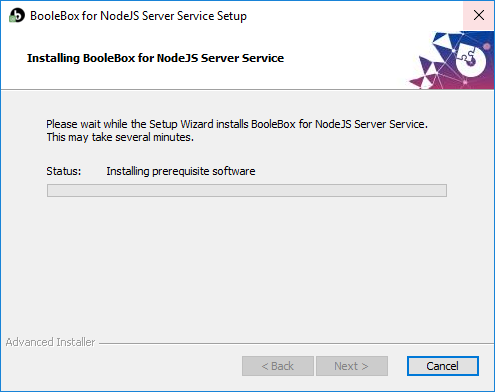
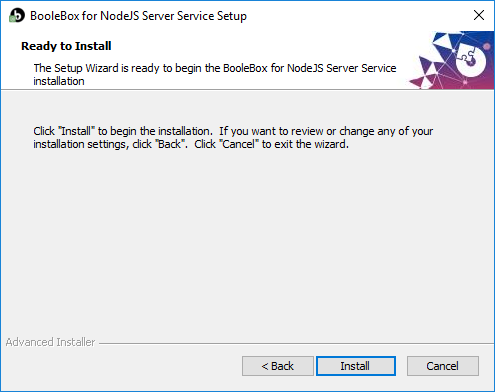
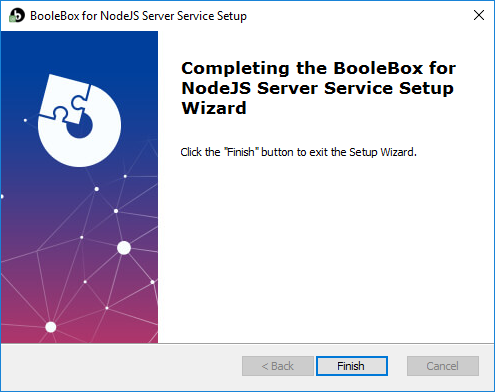
- To start the installation, click on INSTALL.
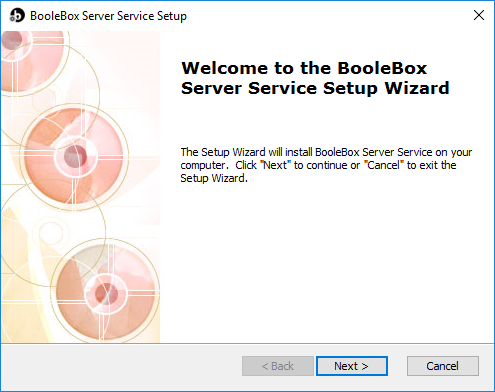
- In the BOOLEBOX SERVER SERVICE SETUP screen, click on NEXT.
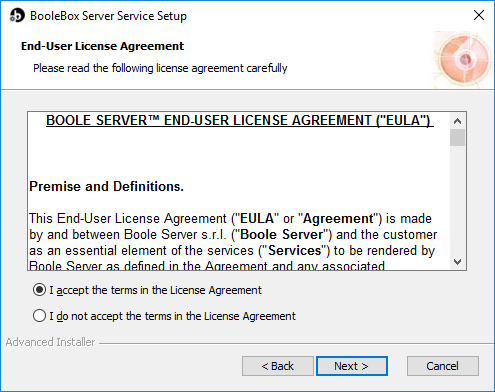
- In the acceptance screen of the service terms and conditions, click on I ACCEPT THE TERMS IN THE LICENSE AGREEMENT checkbox.
- Click on NEXT.
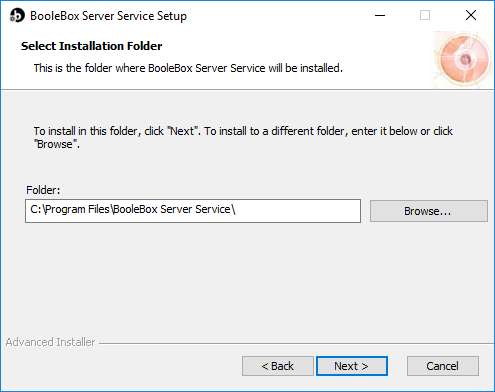
- In the SELECT INSTALLATION FOLDER window, click on BROWSE if you want to change the installation path of the application.
- Click on NEXT.
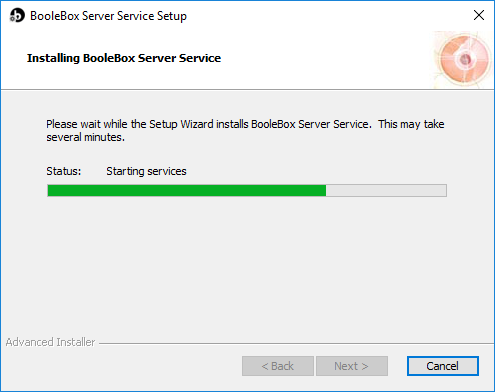
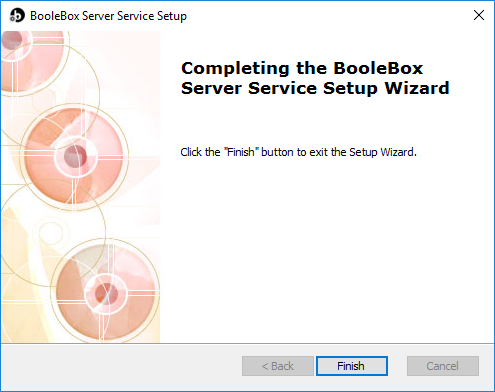
- On the installation start screen, click on INSTALL.

- On the next screen, click on FINISH to complete the operation.
- Click on FINISH to complete the installation of the Node.js application.
